Installation Guide for Windows 8 to 10
- On your laptop/desktop, close all Office applications (such as Outlook, Word, Excel, PowerPoint) before you proceed to the next step.
- Download this zip file if you have not done so.
Note:
If you are connecting from outside NUS, you will need to key-in your Windows ID and password.
- If your browser asks what you want to do next, choose Open.

- Double click on the file “identify-MSoffice-version” and choose “Yes, open this file”.

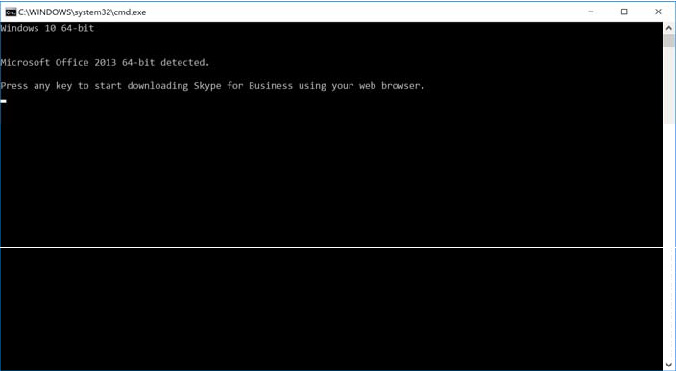
- The following screen will appear. Press any key to start downloading the installer.

Note:
If Microsoft Office 2016 is detected, that means you already have Skype for Business installed on your computer. Press any key to quit the installation process if so.
- Wait for the download to complete. The installer will be downloaded to your Desktop.

- When the download is complete, it will automatically unzip and run the installer. No action is required from you at this point.
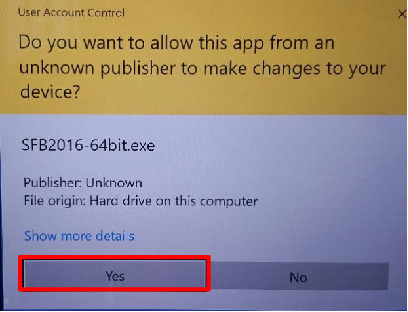
- If you receive the pop-up window as below, choose Yes.

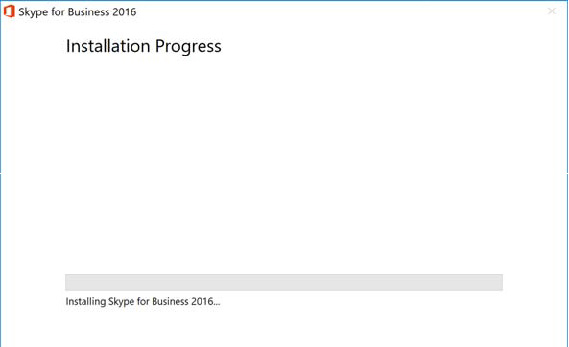
- The installation process will start and it might take a few minutes. Please be patient.

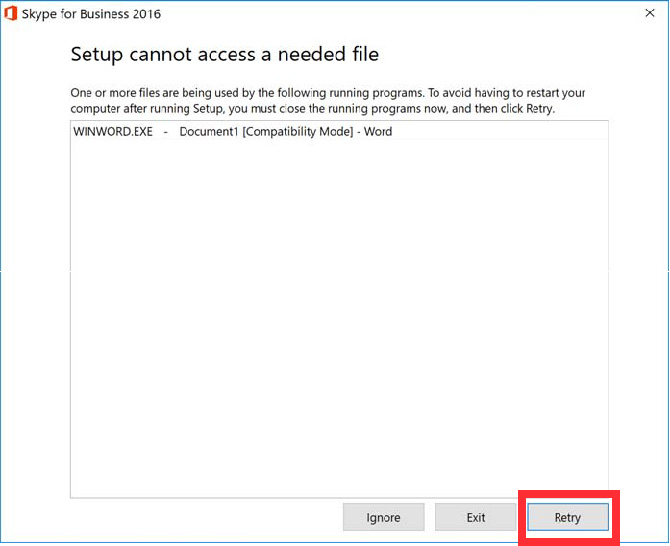
- If the installer detects any open Office application, you will be prompted with the below pop-up window. Save your work and close the Office application if so, and choose Retry to continue the installation.

- All the pop-up windows will close automatically when the installation is complete.
- Reboot your computer and Skype for Business will automatically replace your Office Communicator after the reboot.

