Install Trek thumbdrive (Windows only)
ATTENTION!
Administrator rights are required for installation. DO NOT PROCEED if you do not have administrator rights, or if you are unsure.
Please note that the Trek thumbdrive will only function in Windows 8, 7, Vista and XP.
- Insert the ThumbDrive into a USB port on your computer.
- Wait for the necessary hardware drivers to be installed automatically.


- Once the drivers are fully installed, click on Open folder to view files.
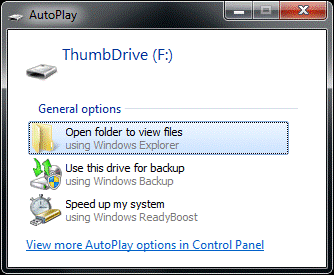
If the specified window does not appear, manually navigate to the drive folder via My Computer.
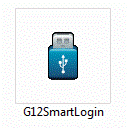
- A new window will be launched. Double-click on the G12SmartLogin icon.
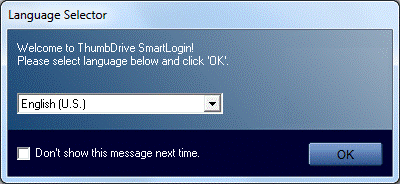
- Select your language and click OK.
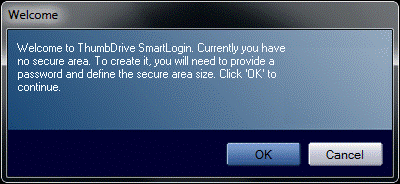
- Click OK to continue.
- Enter the password you wish to use to encrypt the drive. Confirm this and enter a hint for this password in case you forget it.
- Drag the slider all the way down to have the entire drive encrypted. This is required by NUS’s policy.
- Click OK to continue.
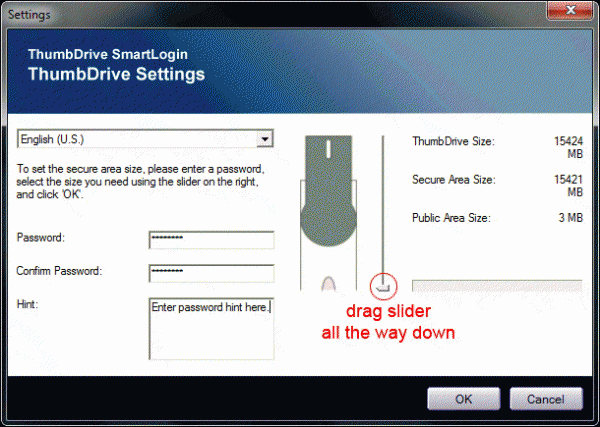
- Click OK to format the drive.
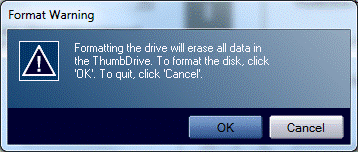
- Wait for the drive to be formatted, and click OK when done.

- Enter the password you specified earlier on to login the secured drive and click OK.
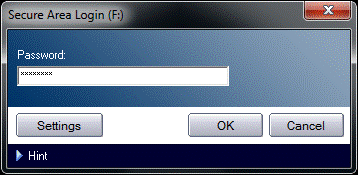
- Wait for the login process to complete and you will see the following window, indicating that you have successfully logged into the secured drive. Click OK to proceed.
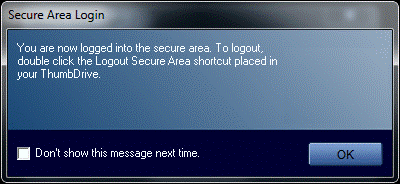
Subsequently, all files placed into the drive will be securely encrypted.
- When you have finished using the drive, you will be required to log out.
- Ensure that you have saved and closed all your files on the secured drive.
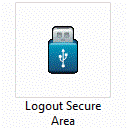
- Open the drive folder and double-click on Logout Secure Area.
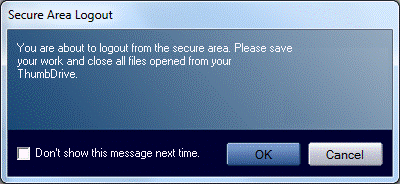
- Wait for the logout process to complete and you will see the following window. Click OK to finish.
This completes the one-time installation process of the Secured ThumbDrive.
Subsequently, you will still be required to login and logout everytime you use the drive. Please refer to steps 3, 4, 10, 11, 12 and 13.

