Install FileVault thumbdrive on Mac OS X 10.7 (Lion)
- Insert your thumbdrive into your computer. Move your cursor to the top right hand corner and click on the Spotlight icon. Type Disk Utility and click on Disk Utility in the Applications list that appears.
- For this example, we have inserted an 8GB thumbdrive into the Mac. It is not formatted yet and appears as “Untitled” in Disk Utility. Click on the thumbdrive (8.04 GB SMI USB DISK Media in this case) in the left pane. On the right pane, click the Erase tab, and select Mac OS Extended (Journaled, Encrypted) as the Format. Click Erase button next to Security Options …
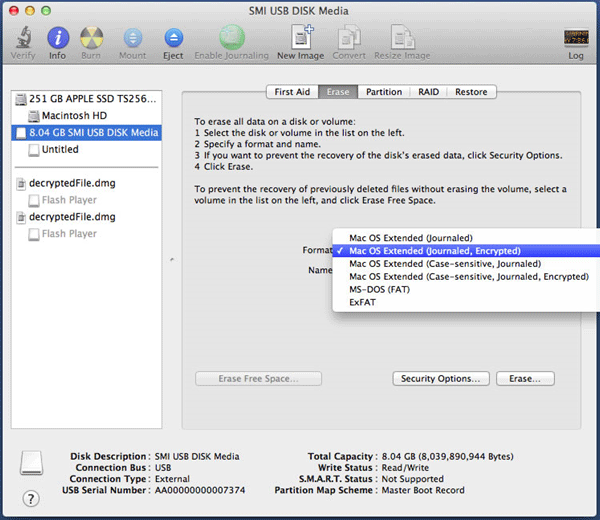
- The screen to change password will appear. Specify a strong password and type it in twice in the boxes provided. Type a hint so it can help you remember but don’t make it too obvious. Then click Erase button.
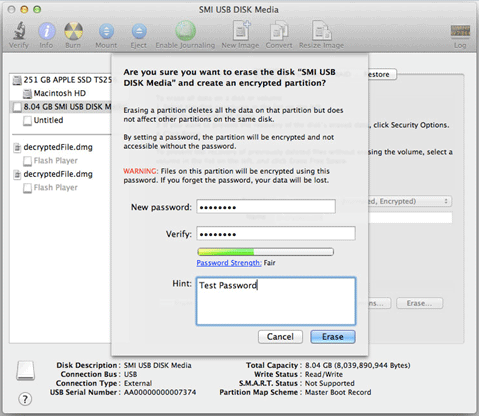
- Please wait while the program Disk Utility encrypts your thumbdrive. The progress is shown next to Creating Core Storage Logical Volume Group. The encryption will take some time, depending on the size of your thumbdrive.
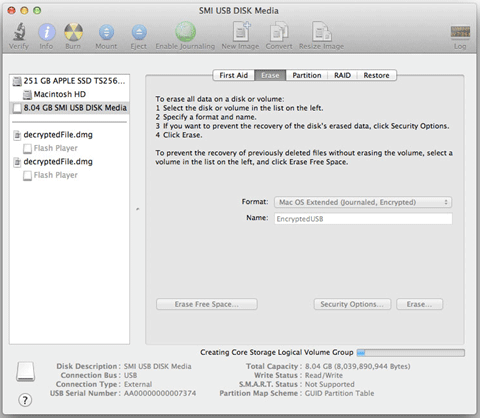
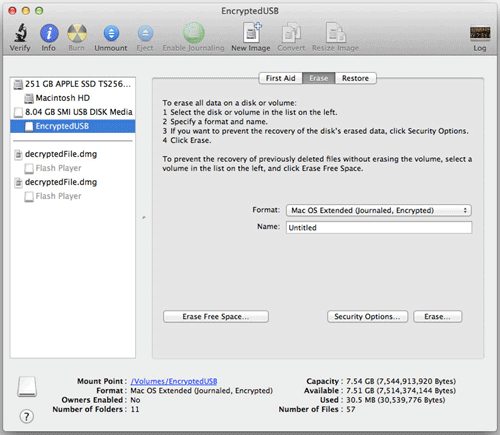
- When the encryption is finished, you would see the dialog box below. Close the program Disk Utility. Then eject the thumbdrive by dragging the icon and throw it into the trash can. Remove the thumbdrive physically and then re-insert.
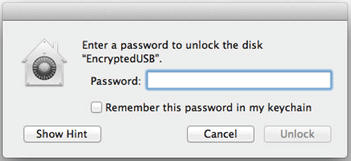
- When the thumbdrive is inserted into the Mac, you will see the prompt shown below. Type in the password you have used earlier in the installation.
The thumbdrive will appear on the left pane. Select the thumbdrive and click Partition tab on the right.
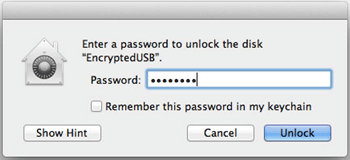
- Click on Unlock after you have key in the password.
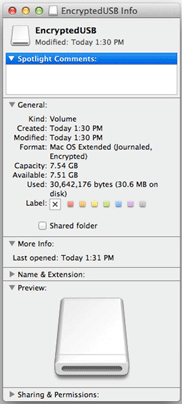
- If you do a Get Info on the thumbdrive inserted, you will see a dialog box similar to the one below.
- This completes the one-time installation process of the FileVault thumbdrive.

